Red Lentil Tofu
on May 15, 2022, Updated May 27, 2022
This post may contain affiliate links.
Make your own soy-free tofu using just three ingredients: red lentils, water and salt!
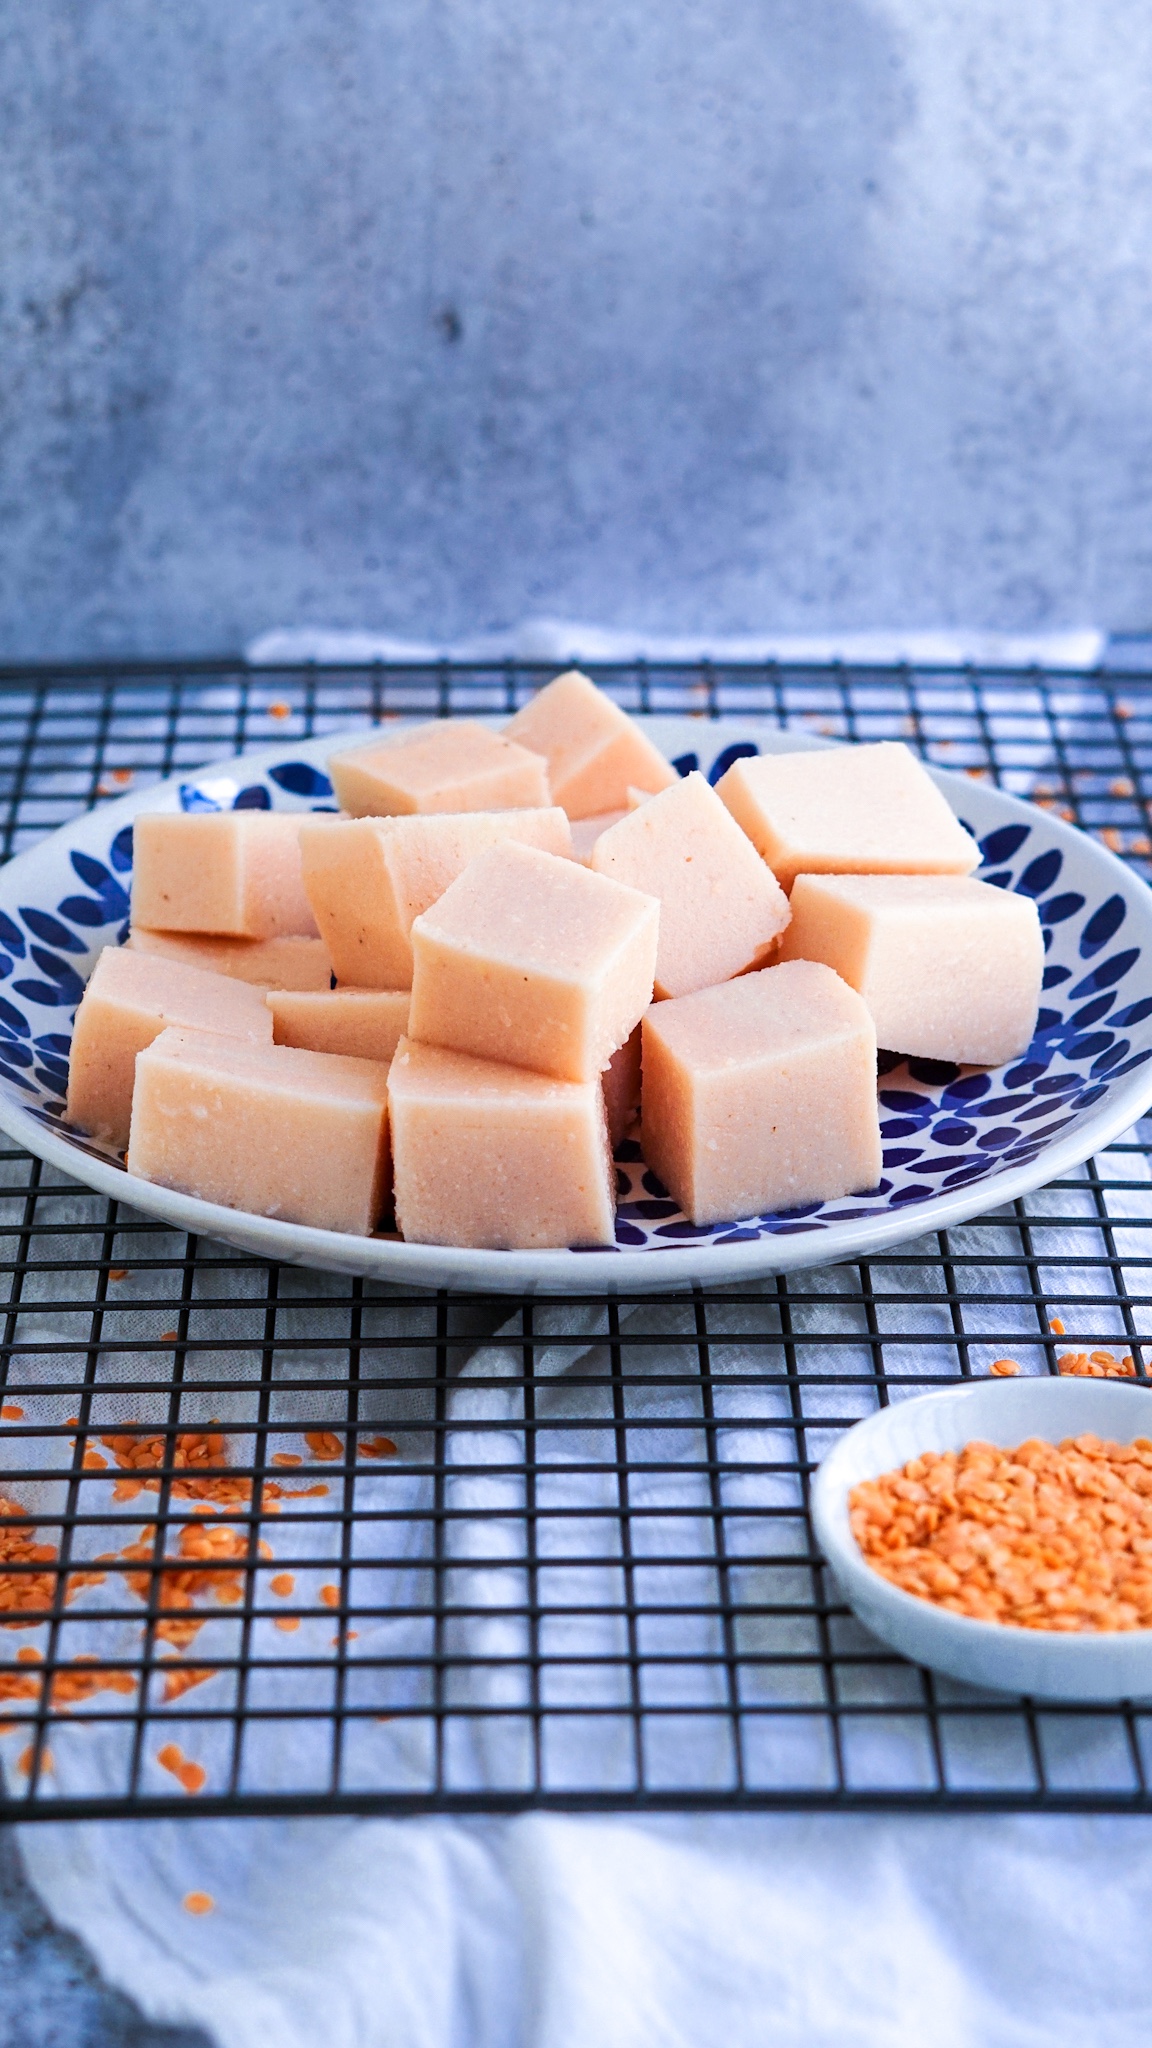
Red Lentil Tofu is exactly what it sounds like: high-protein tofu made from lentils instead of soybeans! I use red lentils, water and salt to create a soy-free, gluten-free, nut-free and vegan tofu.
It’s easy to make and incredibly versatile!
Who Invented Red Lentil Tofu?
I first saw red lentil tofu on…where else? TikTok! And though there are many different variations of this recipe on the web now, it was kindly brought to my attention that Camilla from @powerhungrycamilla was the original mastermind behind this brilliant trend! To the best of my knowledge, all recipes you’ve seen online are likely modified versions of her original concept and recipe ❤️
Please note that this recipe is an adaptation of several recipes I saw on TikTok which I now know have likely originated from Camilla’s original invention. The recipe written below is the result of lots of recipe testing and playing around with ingredients in my kitchen so it differs in several ways from similar versions you may have seen on social media. While I didn’t invent red lentil tofu, this recipe is simply how I like to make it at home. I hope you enjoy it as much as I do and shoutout to Camila for coming up with such a cool idea!
How to Make Red Lentil Tofu
Soak
Before you get started, soak the lentils overnight to soften them up.
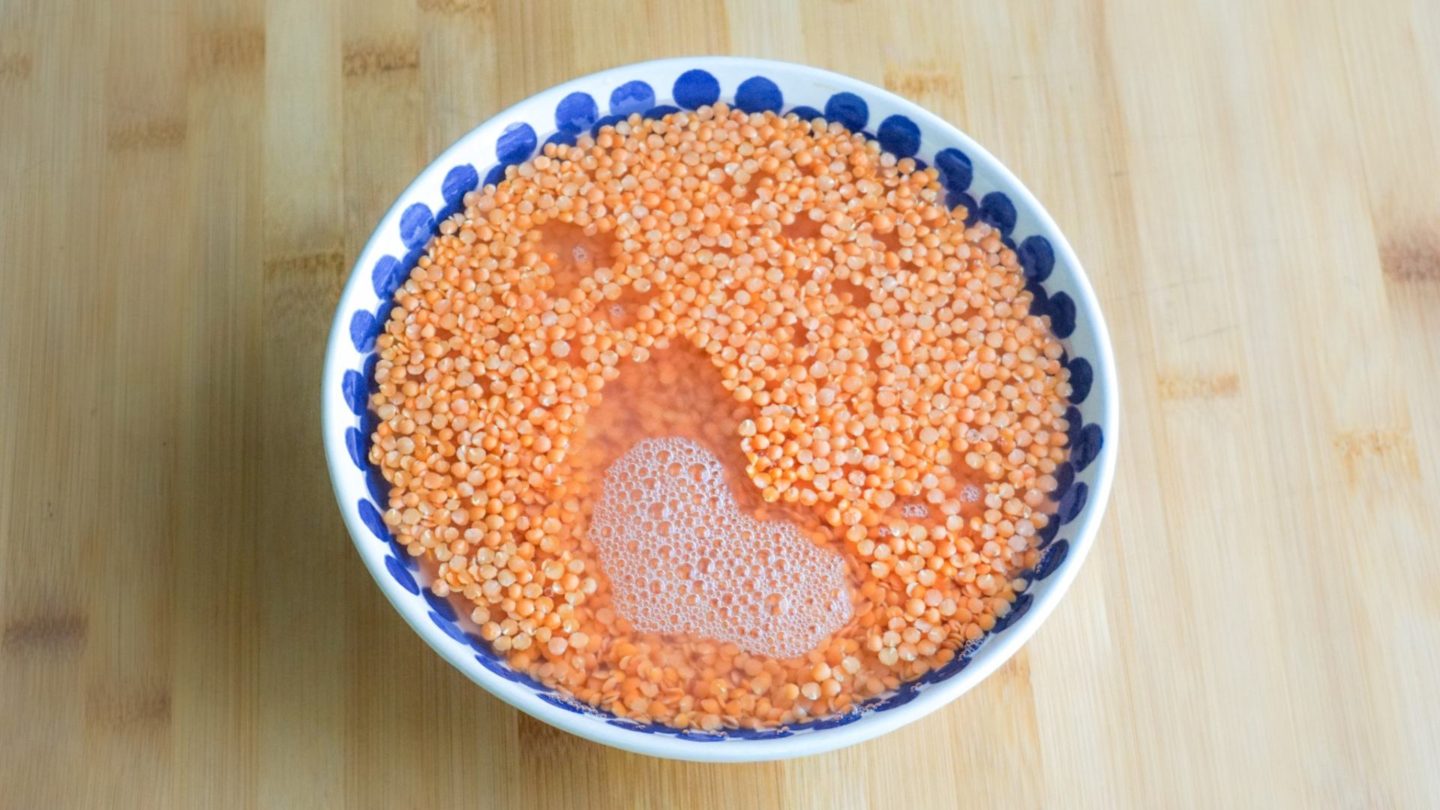
Next, drain the soaking water and rinse the lentils. Then add the lentils to a large mixing bowl and pour 4 cups of boiling water on top. Allow the water to cool (this should take about 20 minutes or so.)
Blend
Once cooled, add the lentils and the water to a large blender and blend until smooth and creamy. About 30 seconds.
Tip: if you have a small blender like I do, this can be done in 2 batches.
Cook
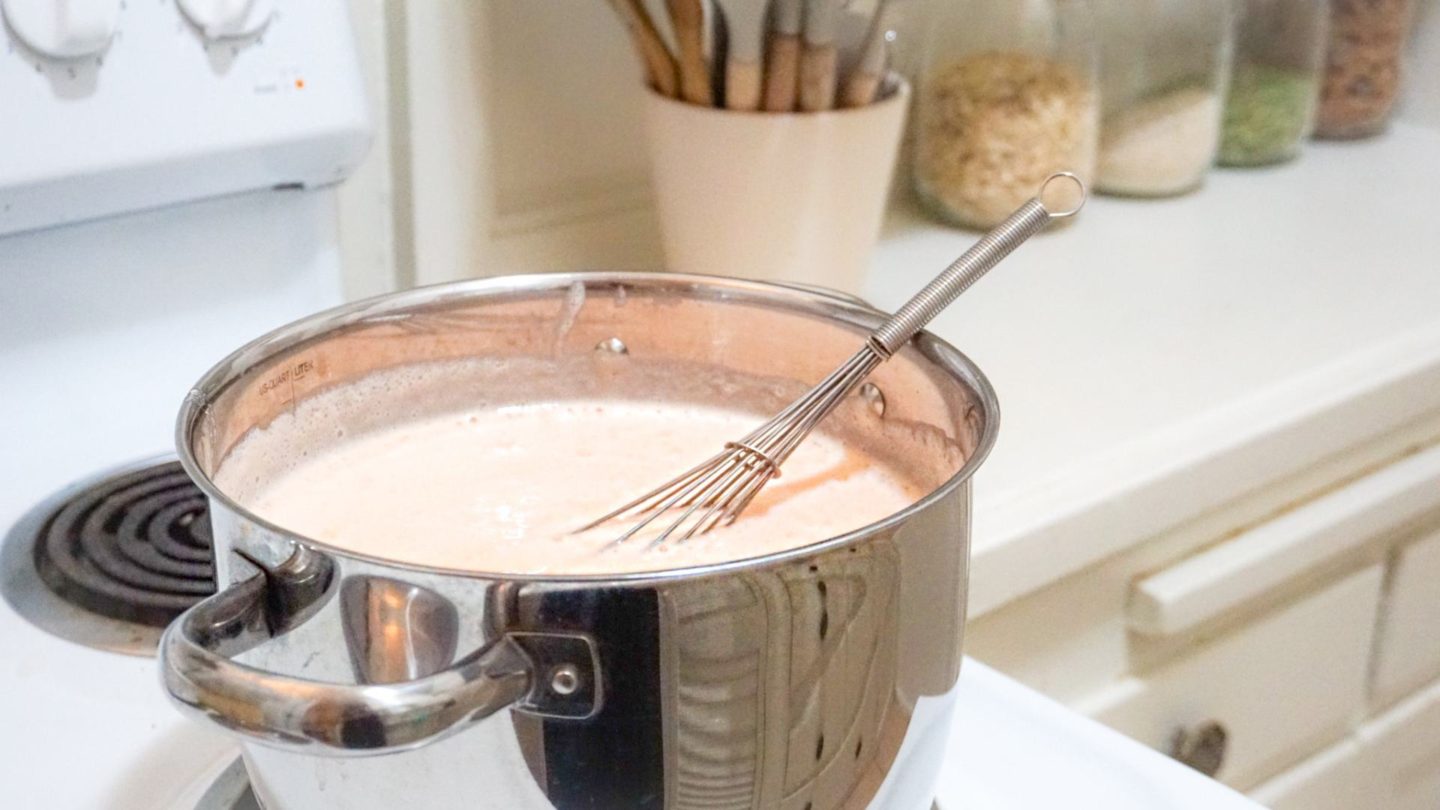
Once cooled, add the creamy lentil mixture to a saucepan and set to medium-high heat. Whisk for 2-3 minutes, then slowly whisk in the remaining 4 cups of water.
Add the salt and cook for 10 minutes on medium heat, whisking continually to prevent lumps. It will slowly start thicken right before you eyes during this time!
Remove from the heat and a large spoon to skim the bubbles off of the top of the batter.
Pro Tip: Whisking continually is key for this recipe because as starches hydrate and heat up, they expand which is why this mixture goes from a liquid to a thick and creamy batter in just a matter of minutes. Reducing the heat to medium and whisking as it heats will ensure that you have a thick, creamy and smooth tofu with no lumps 👩🏻🍳 More about how starches work to thicken in this video.
Chill
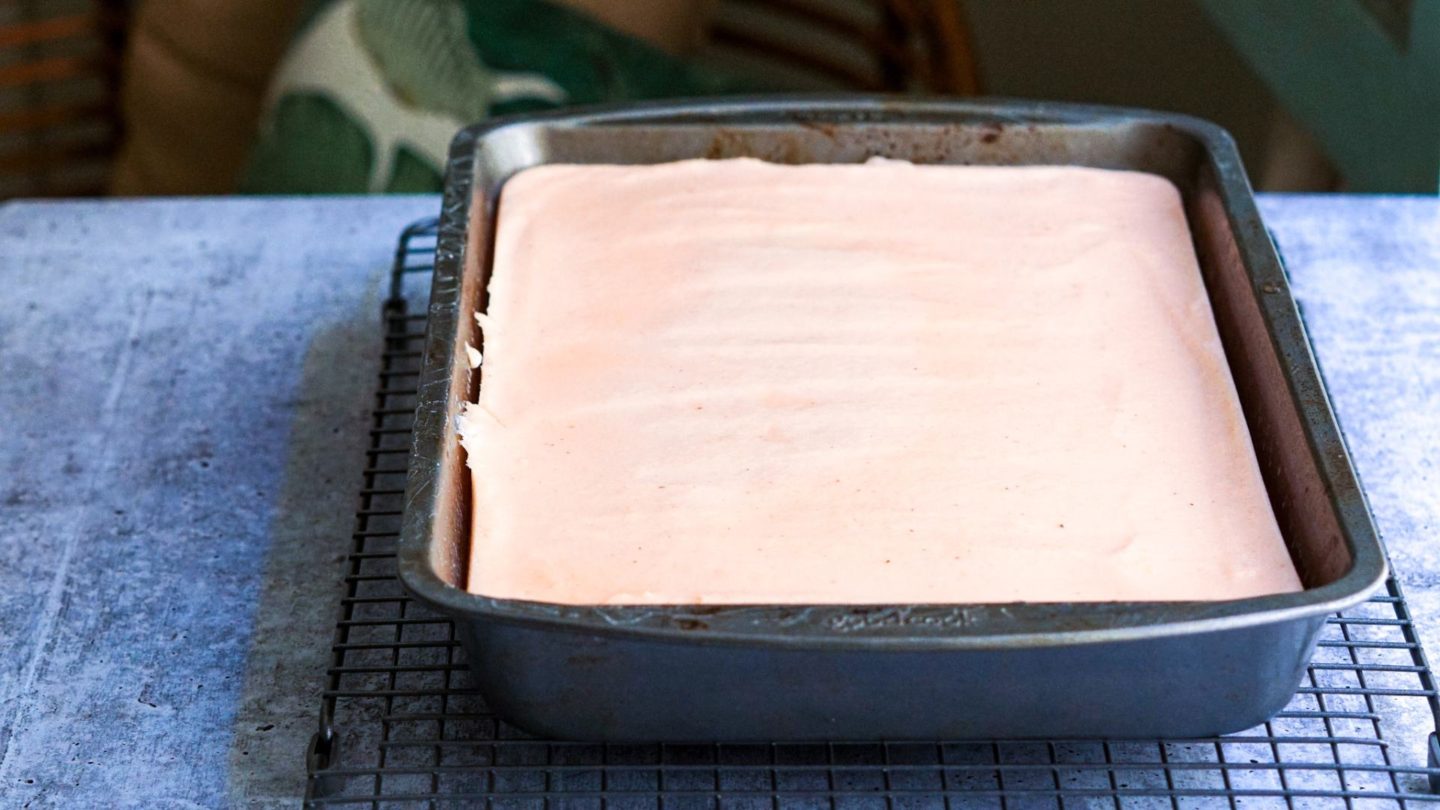
Transfer the red lentil mixture to a 9x13in pan. Smooth out the top with a spoon and cool.
Once cool, cover the pan and refrigerate overnight for a firm consistency. It will be creamy in the center on day one, almost like a medium tofu tofu text and firmer the longer it sets. I think it’s best on day 2 or 3 in terms of texture so this is great to make in advance.
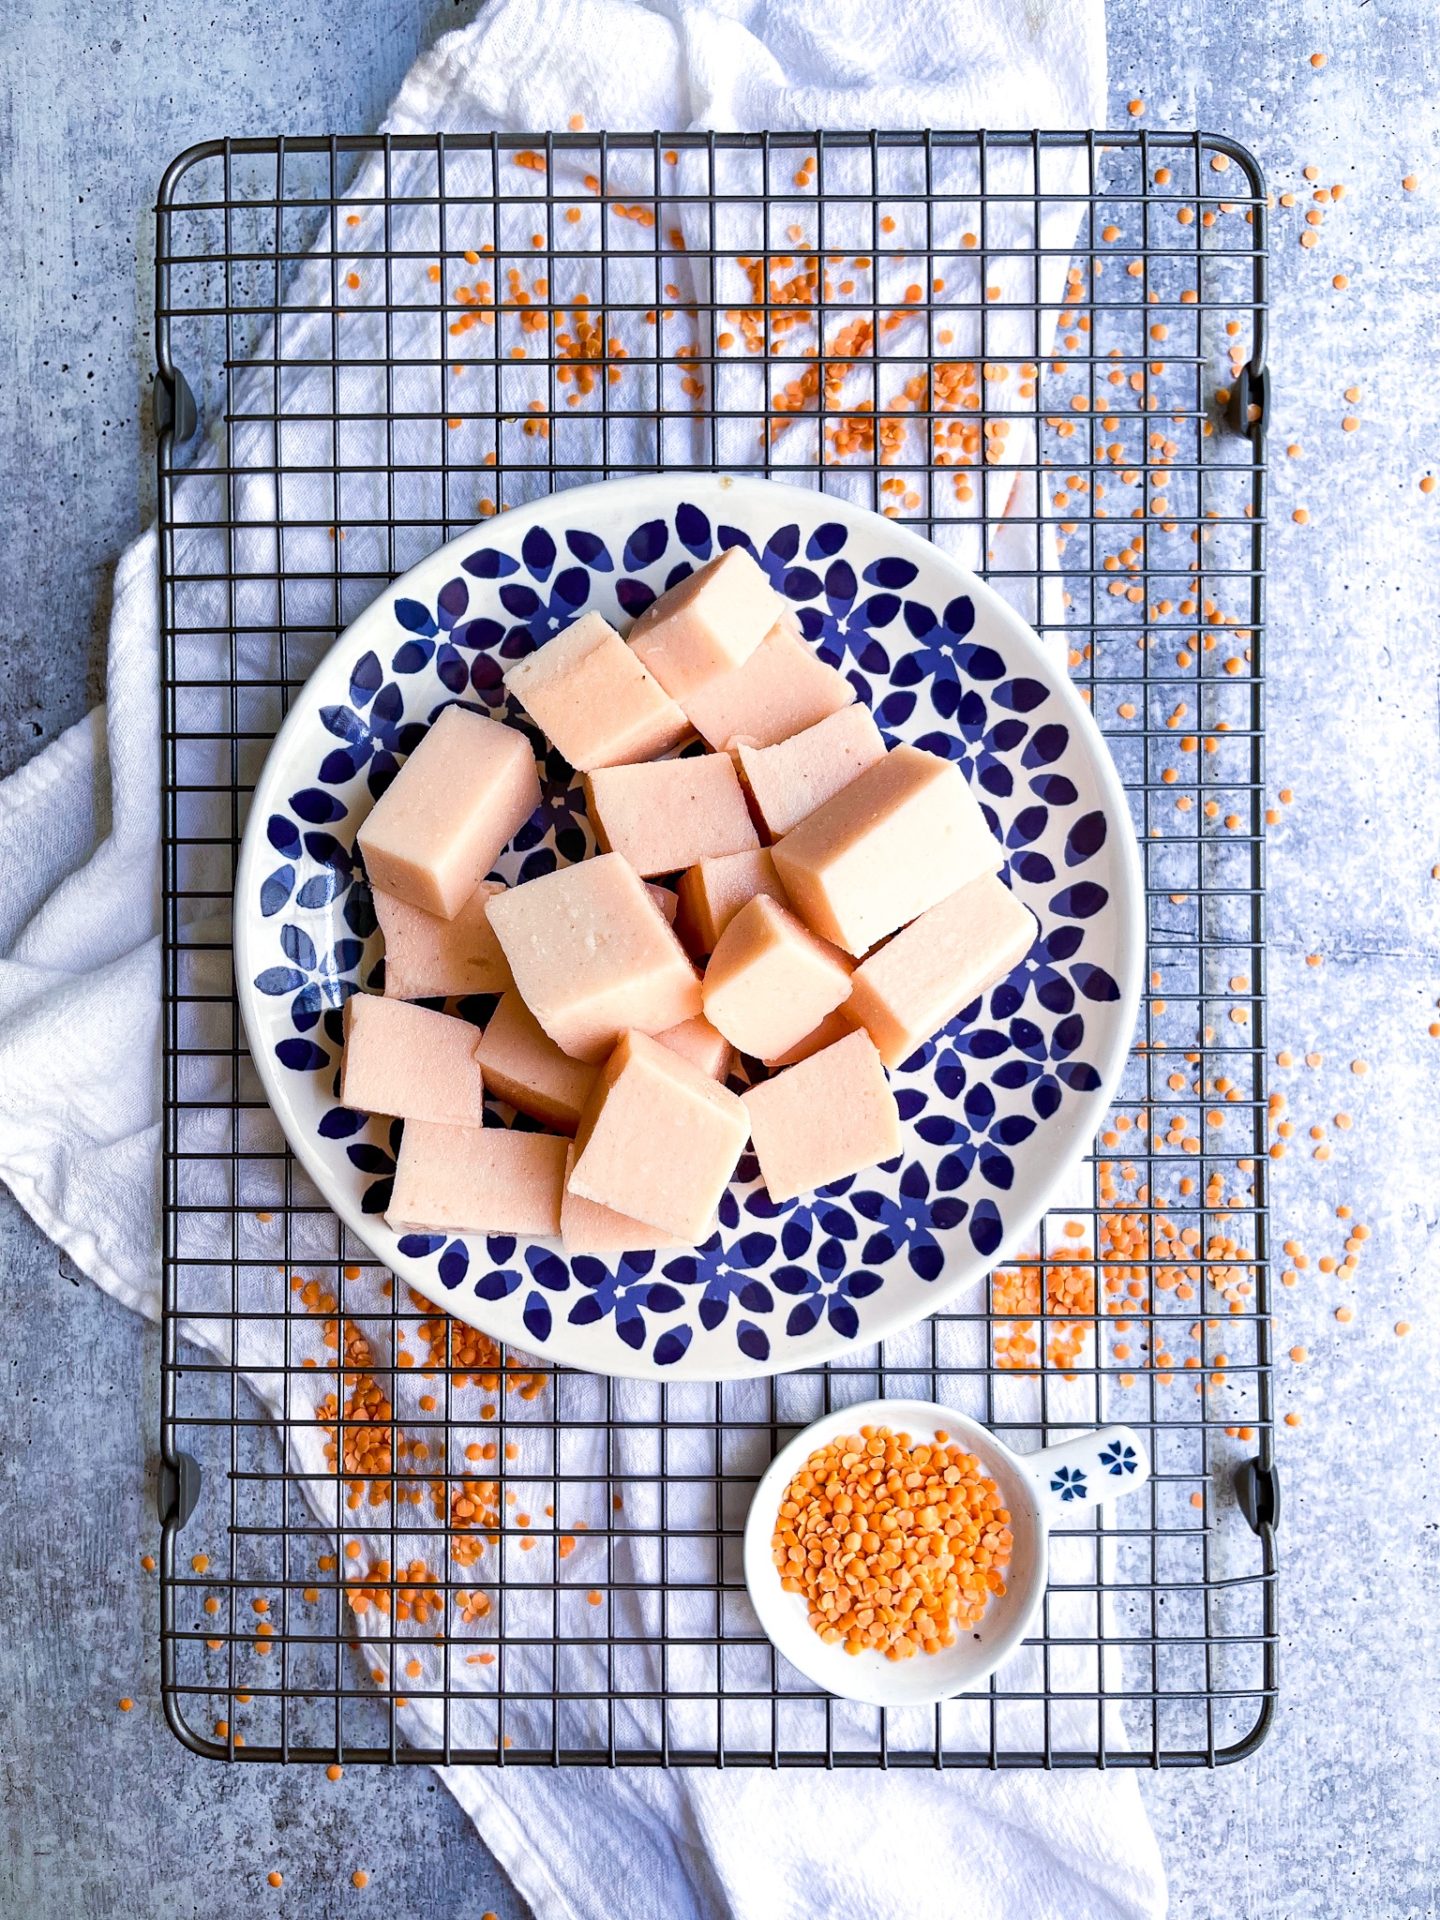
Ta-daa!! You made tofu!

Once firm, you can slice the tofu into your desired shape and it’s ready to use!
Health Benefits of Red Lentils
- 14g protein per serving
- 7g fiber per serving
- Rich in iron, folate, magnesium, copper, zinc and phosphorous
- Rich in polyphenols
- “Lentils have the second-highest antioxidant content (behind black beans) among all tested legumes.”
What Does Red Lentil Tofu Taste Like?
It’s mild in flavor (kinda doesn’t taste like anything with a slightly beany aftertaste 🤷🏻♀️) so you can season and cook it however you like! It’s creamier and more delicate than tofu and the texture is kind of like plain buffalo mozzarella. Somewhere between watery and creamy, with a smooth texture and neutral flavor profile.
It really takes on the flavor of whatever you season or marinate it with!
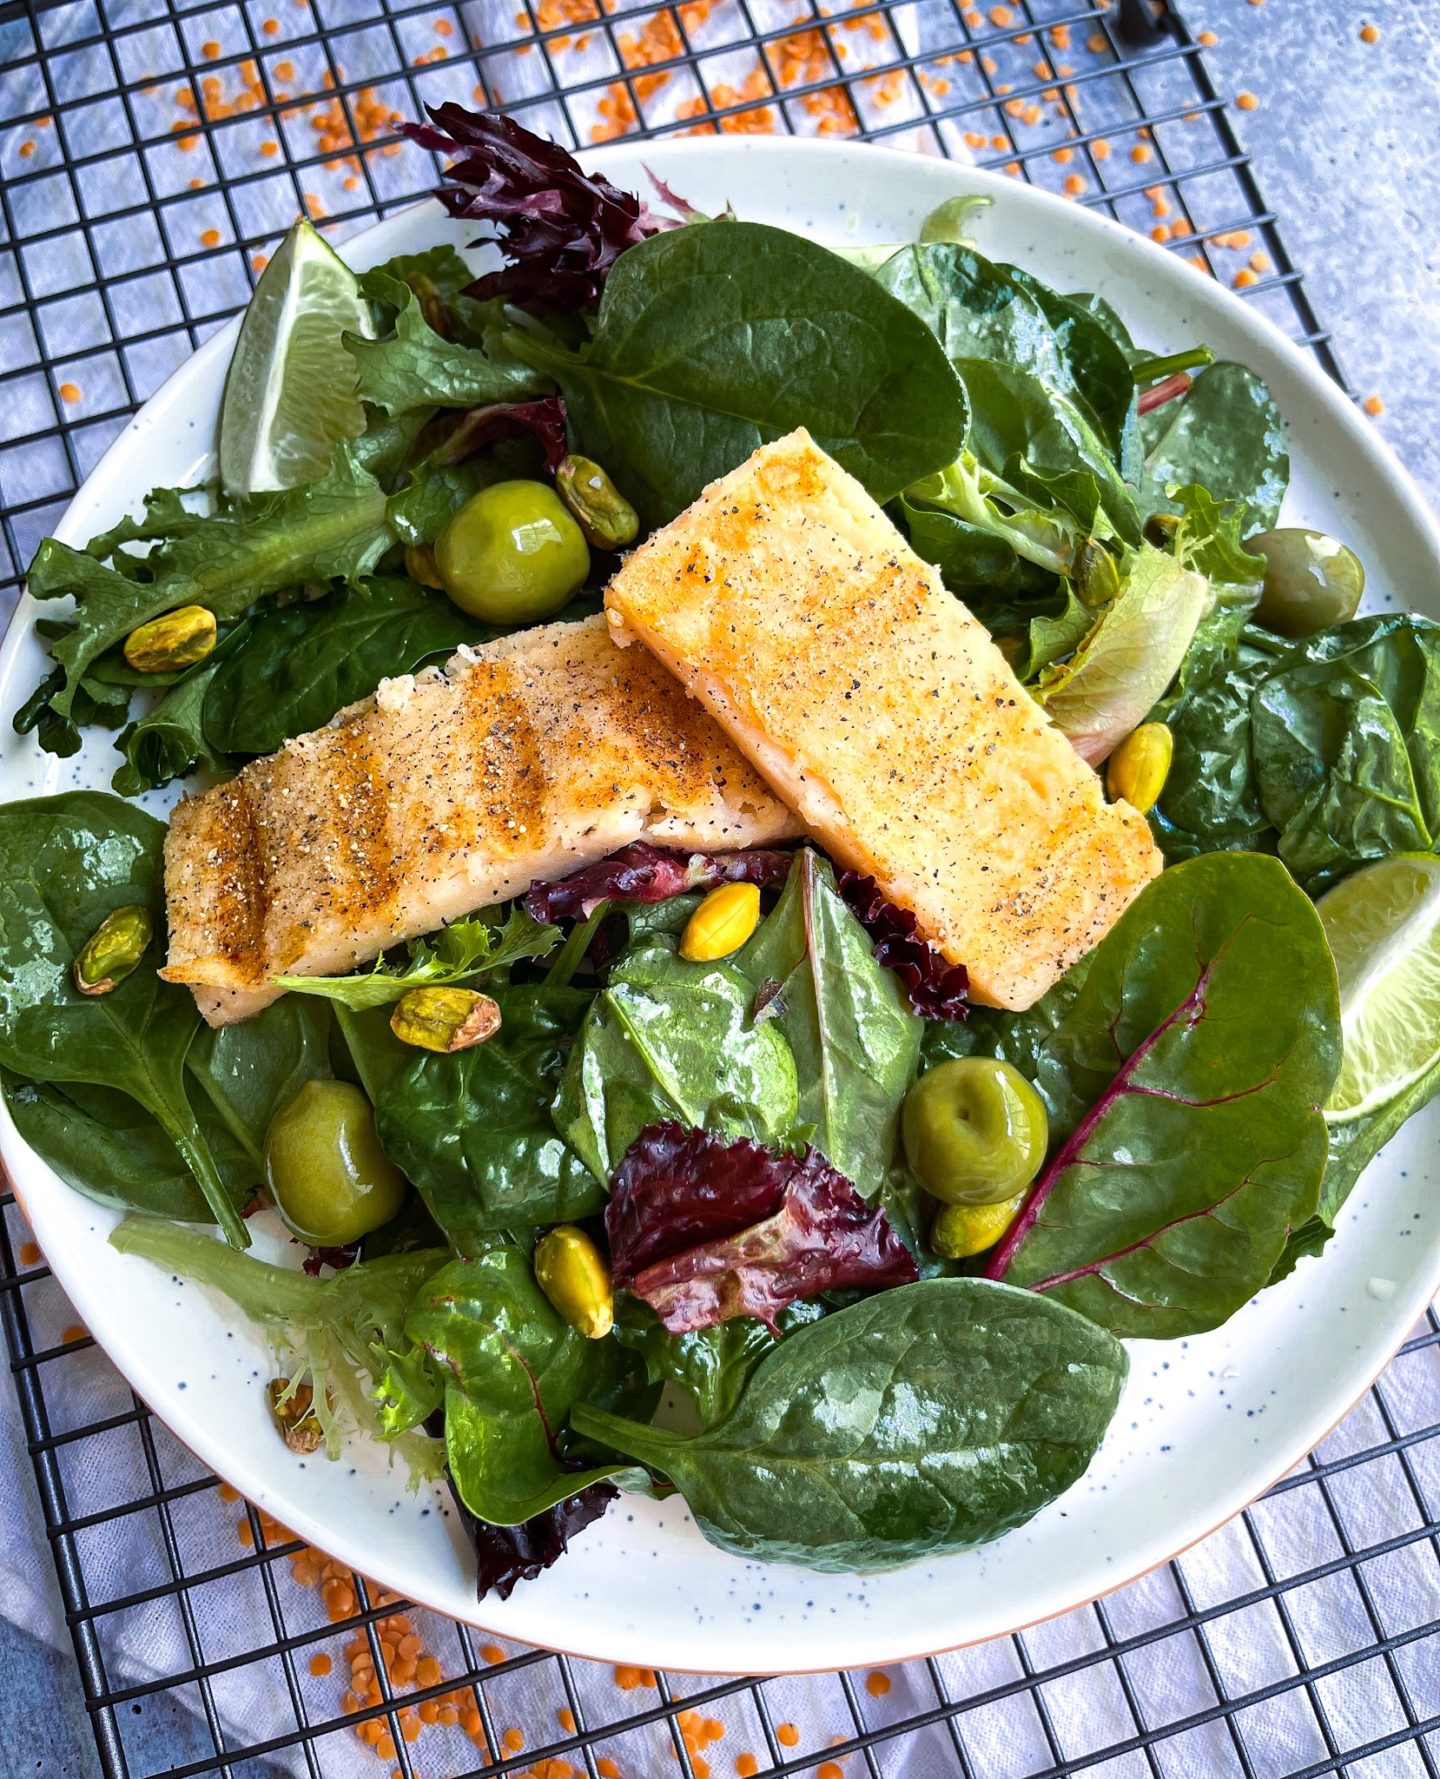

Drizzle with olive oil and sprinkle with salt, pepper, paprika, garlic powder and poultry seasoning.
Toss and bake at 400 until golden brown around the edges. So tasty!
Recipe FAQs
Do I have to the chill the red lentil mixture overnight?
For best results and easy cooking, I’d say yes. The tofu will set in about 2-3 hours but the texture will be soft and creamy in the center. Kind of like soft tofu…but creamier. Honestly, the longer you can wait to cut it, the better 🙂
I personally prefer to buy firm tofu at the store so letting the Red Lentil Tofu set overnight, or even making it 2 days ahead, is the best way to achieve a similar level of firmness.
How do I store Red Lentil Tofu?
Store in an airtight container for about 5-6 days. No need to store in water.
Or freeze tightly wrapped for up to 6 months and simply thaw in the fridge when ready to use.
Red Lentil Tofu Recipe
Ingredients
- 2 cup split red lentils
- 4 cups boiling water
- 4 cups room tempertaure water
- 1 tbsp kosher salt
Instructions
Soak
- Before you get started, soak the lentils overnight to soften them up.
- Next, drain the soaking water and rinse the lentils. Then add the lentils to a large mixing bowl and pour 4 cups of boiling water on top. Allow the water to cool (this should take about 20 minutes or so.)
Blend
- Once cooled, add the lentils and water to a large blender and blend until very smooth and creamy. About 30 seconds. Tip: if you have a small blender like I do, this can be done in 2 batches.
Cook
- Pour the lentil mixture into a large saucepan and set the heat to medium-high. Add the salt and whisk for 2-3 minutes. Lower heat to medium if needed and slowly whisk in the remaining 4 cups of water. Cook for 10 minutes on medium heat, whisking continually to prevent lumps. It will slowly start to thicken right before you eyes! Remove from the heat and a large spoon to skim the bubbles off of the top of the batter.Pro Tip: Whisking continually is key for this recipe because as starches hydrate and heat up, they expand which is why this mixture goes from a liquid to a thick and creamy batter in just a matter of minutes. Reducing the heat to medium and whisking as it heats will ensure that you have a thick, creamy and smooth tofu with no lumps 👩🏻🍳
Chill
- Transfer the red lentil mixture to a 9x13in pan.Smooth out the top with a spoon and cool. Once cool, cover the pan and refrigerate overnight for a firm consistency. It will be creamy in the center on day one, almost like a medium tofu tofu text and firmer the longer it sets. I think it's best on day 2 or 3 in terms of texture so this is great to make in advance.
Ta-daa!! You made tofu!
- Once firm, you can slice the tofu into your desired shape and it's ready to use!Tip: This tofu is softer and creamier than store bought tofu so I find it's a little more delicate. Because of this I like to handle it carfully when seasoning. Usually I drizzle on some olive oil, season liberally with spices and bake at 400 until golden around the edges. It's also delicious when seasoned and grilled on a non-stick grill pan or when cubbed and added to soups or stews in the last few minutes of cooking. Hope you enjoy!
Shop my Kitchen Here
If you like this recipe please leave a comment and rate this post below! And if you’re on Instagram, tag me in a pic so I can see your recreation! @nikkivegan
For more free vegan recipes, don’t forget to check out my YouTube channel here.




Very nice! I did not add the additional 4 cups and ended up a delicious smooth texture firm tofu that I could slice into cubes. I used an immersion blender and it worked perfectly.