Vegan Honey Nut Cereal Bars
on Jul 17, 2022
This post may contain affiliate links.
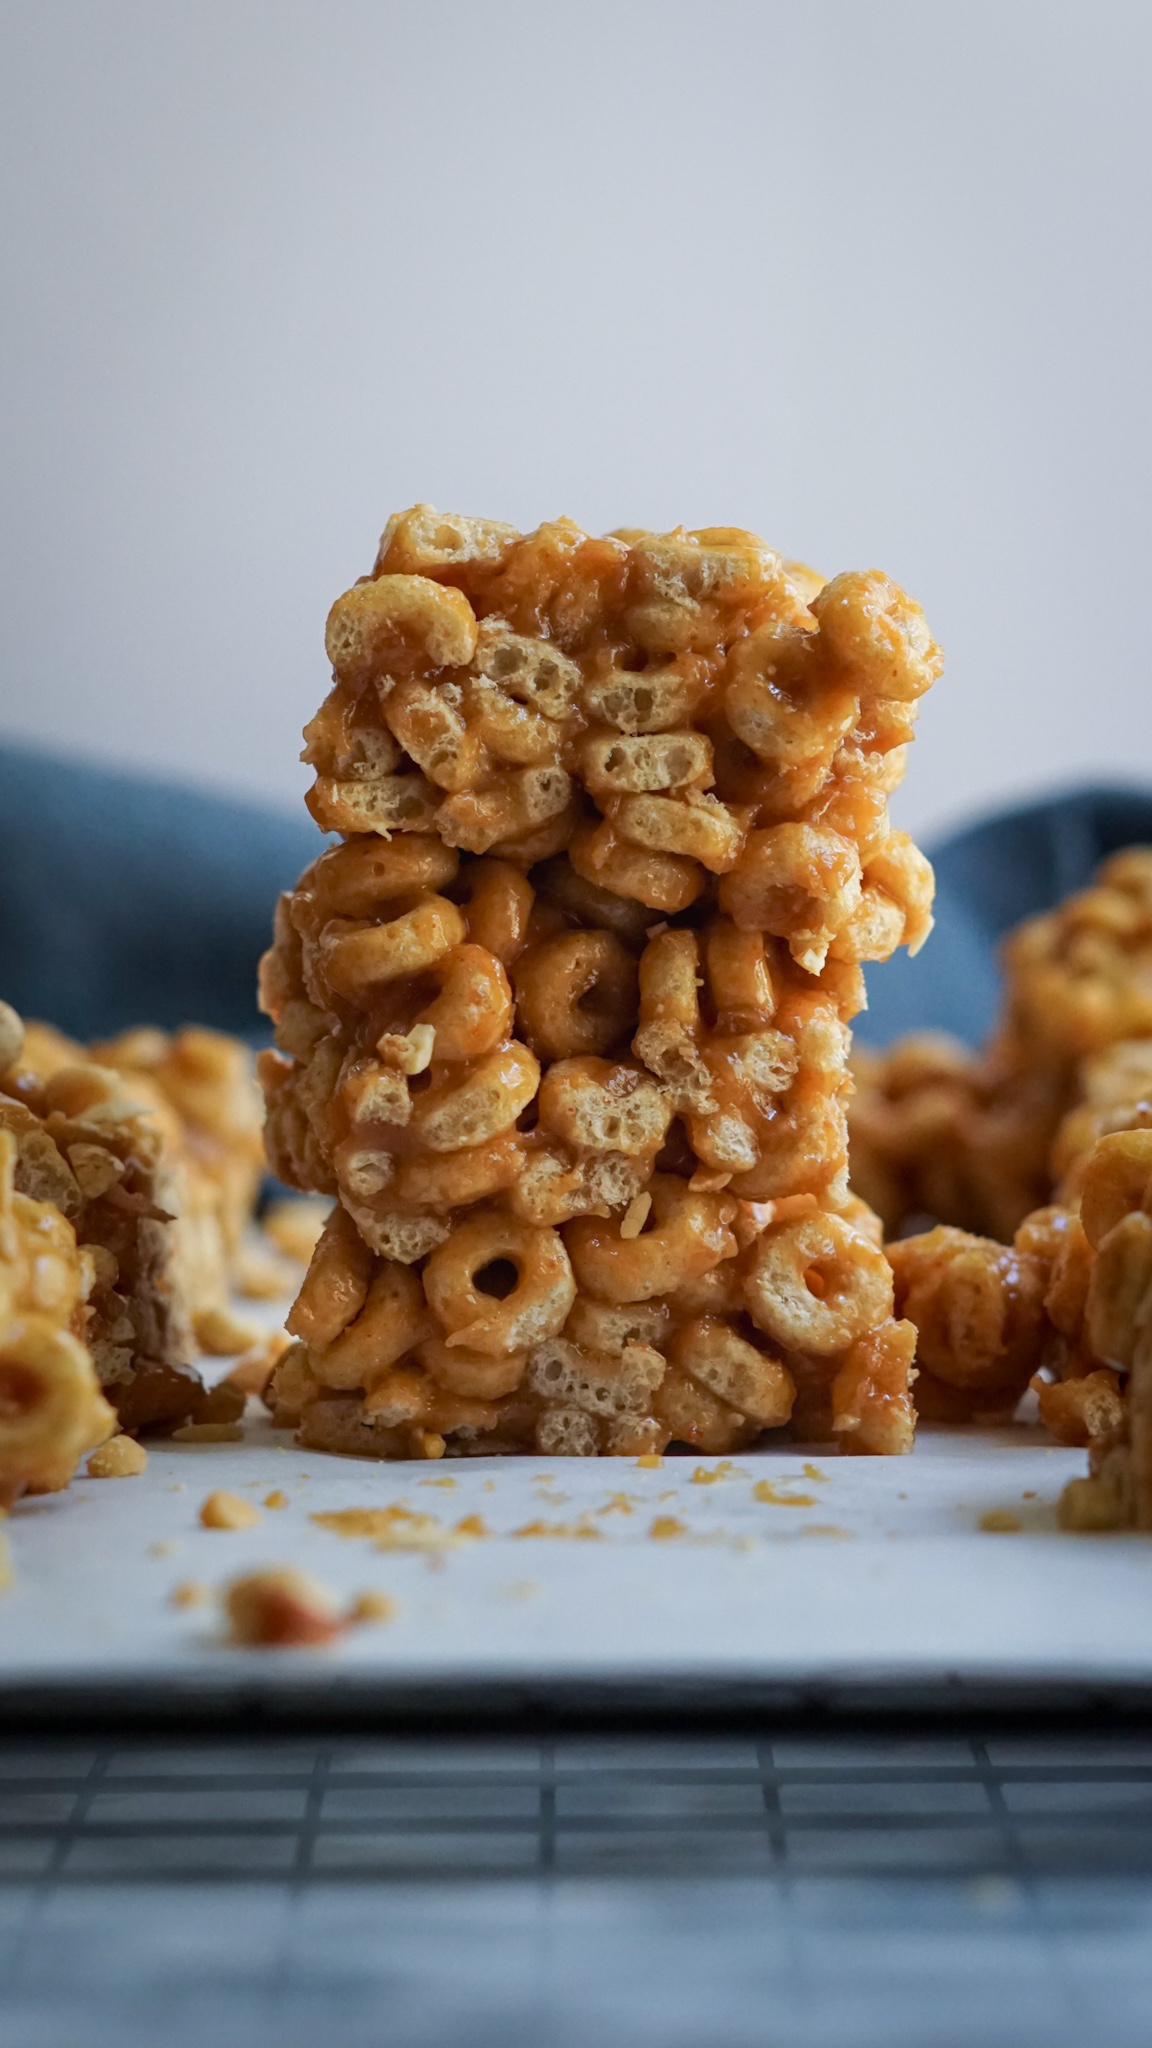
These sweet ‘n salty Honey Nut Cereal Bars were my favorite no-bake recipe when I was a kid. They’re easy to make and completely vegan! Just mix cereal, peanut butter, maple, lemon and vanilla in a bowl, press into bars and you’ve got a nostalgic treat that everyone will love.
Honey Nut Cereal Bars were considered the “healthy” or “all-natural” version version of Rice Crispy Treats when I was a kid. I actually learned how to make these bars in daycare because my school didn’t allow candy or marshmallows (which meant that classic Rice Crispies were out)
Instead, they taught us to make Honey Nut Cheerios Bars and my sister and I have made them countless time ever since.
The original recipe is just three ingredients: Cheerios, peanut butter and honey. But since Cheerios aren’t vegan (animal based vitamin D3) and neither is honey, I wanted to recreate a vegan-friendly that tasted like the sweet and nutty treats we loved to make as kids.
Reasons To Love These Healthier Homemade Bars
- Sweet ‘n Salty + Nutty ‘n Crunchy
- No-cook / no-bake recipe
- Made with just 6 few simple ingredients
- No artificial ingredients or refined sugar
- Kid-friendly and family-friendly recipe
Ingredients for Honey Nut Cereal Bars
You’ll only need 6 simple ingredients to make this cereal bar recipe:
- Peanut Butter – get the natural, unsalted kind for best results. The only ingredient should be peanuts.
- Maple Syrup – adds sweetness and helps hold the bars together.
- Lemon Juice – a little goes a long way and helps to brighten up the maple syrup.
- Vanilla – adds balance and depth to this otherwise simple recipe.
- Kosher Salt – makes these bars taste buttery and helps tie all of the other ingredients together. Definitely don’t skip the salt!
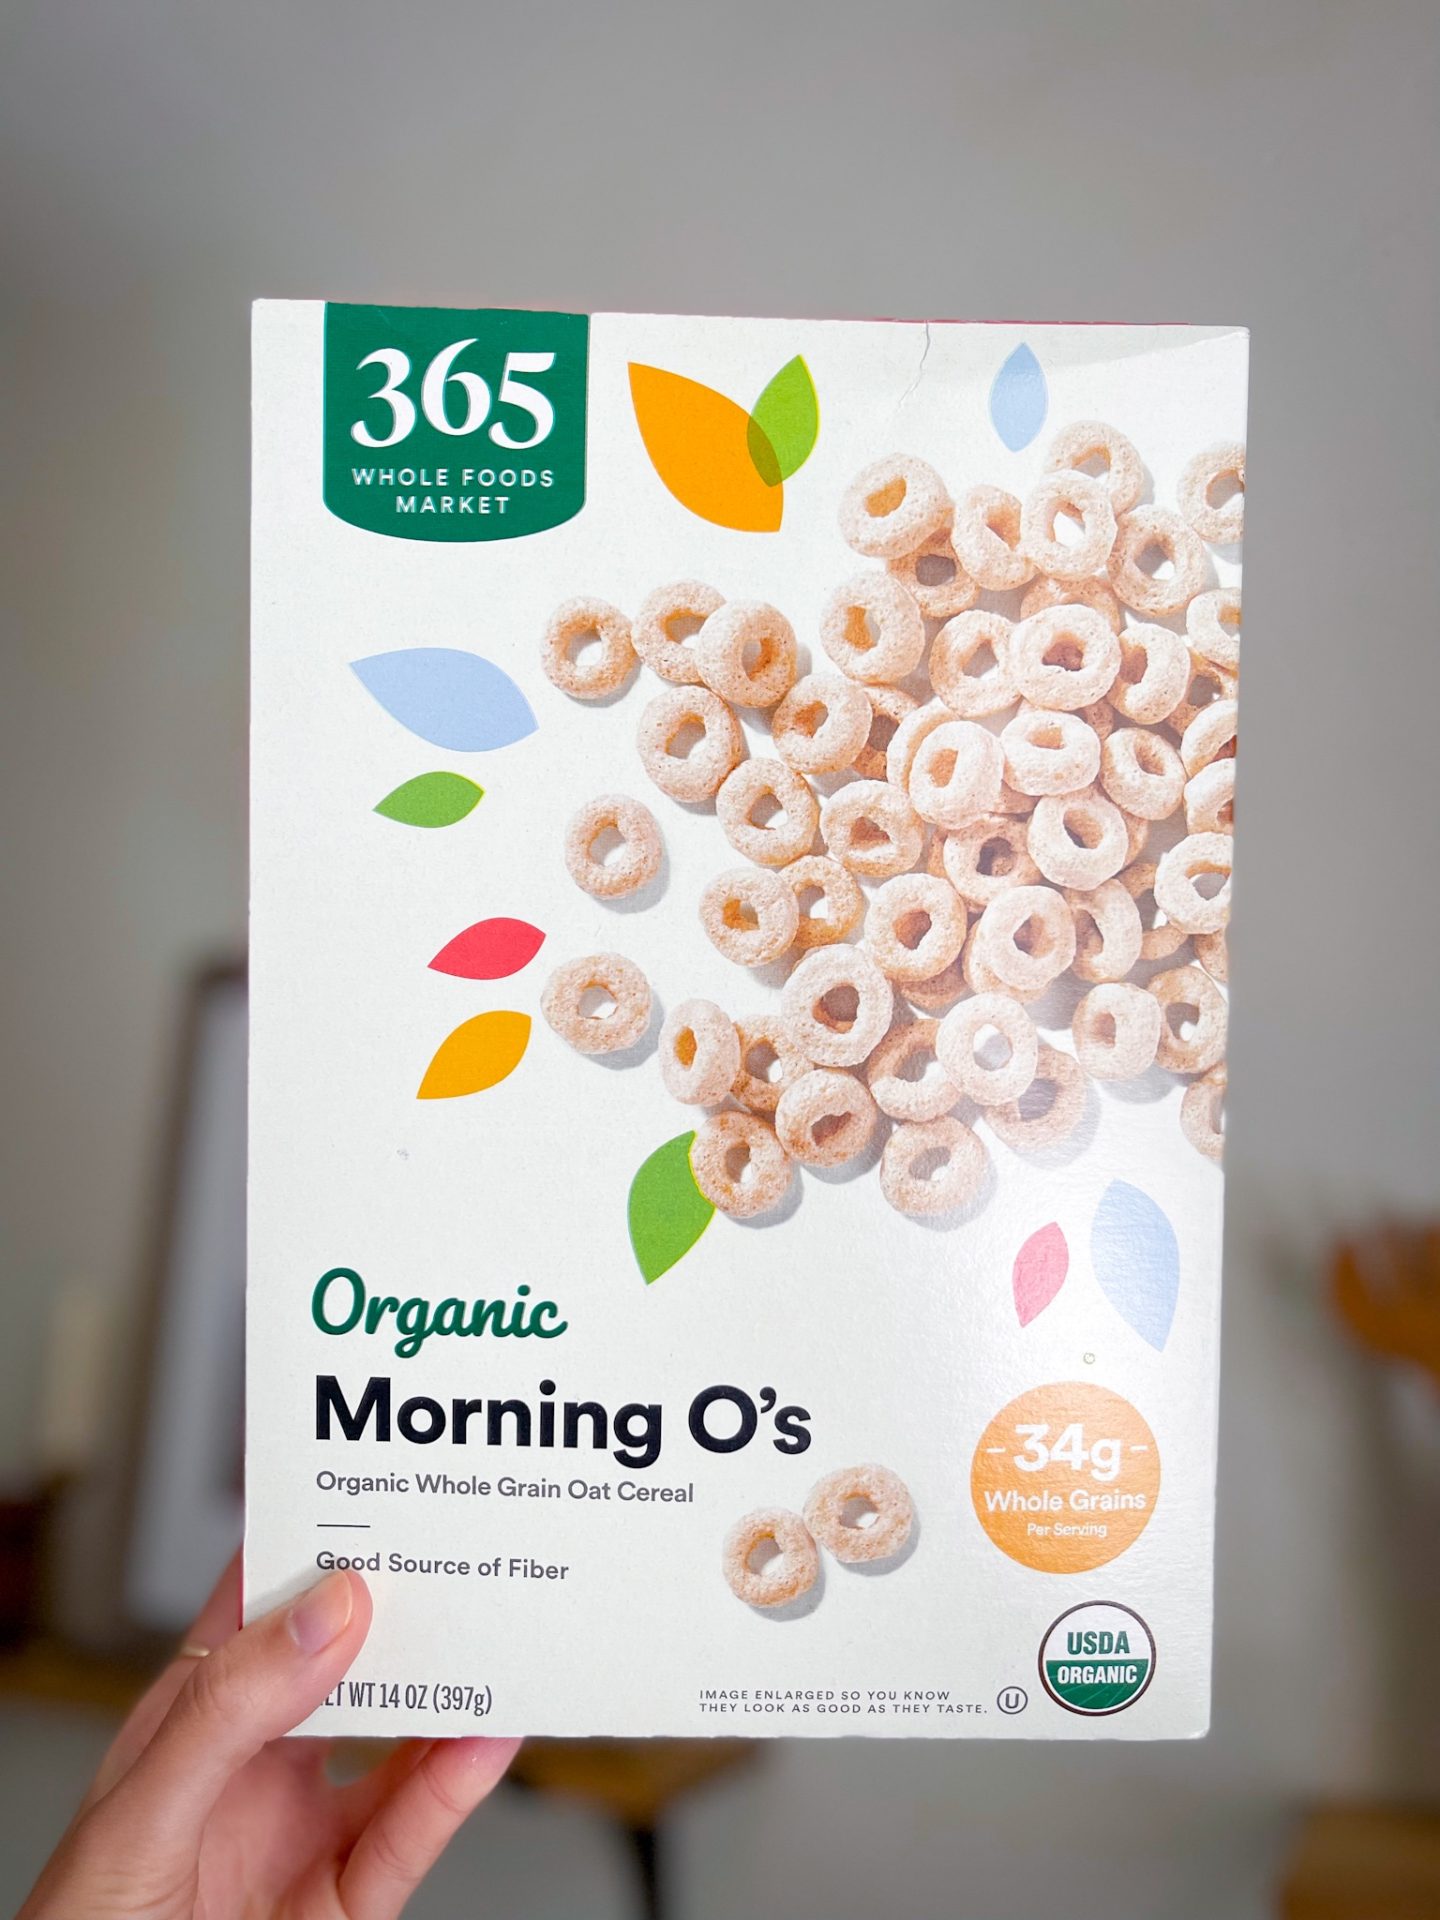
- O Shaped Cereal – Cheerios are great but they’re not technically vegan so some store brands like this one make good vegan alternatives.
How to Make Cereal Bars Without Marshmallows
Can you make cereal bars without marshmallows and butter? The answer is yes and it’s even easier without them. No melting or cooking required!
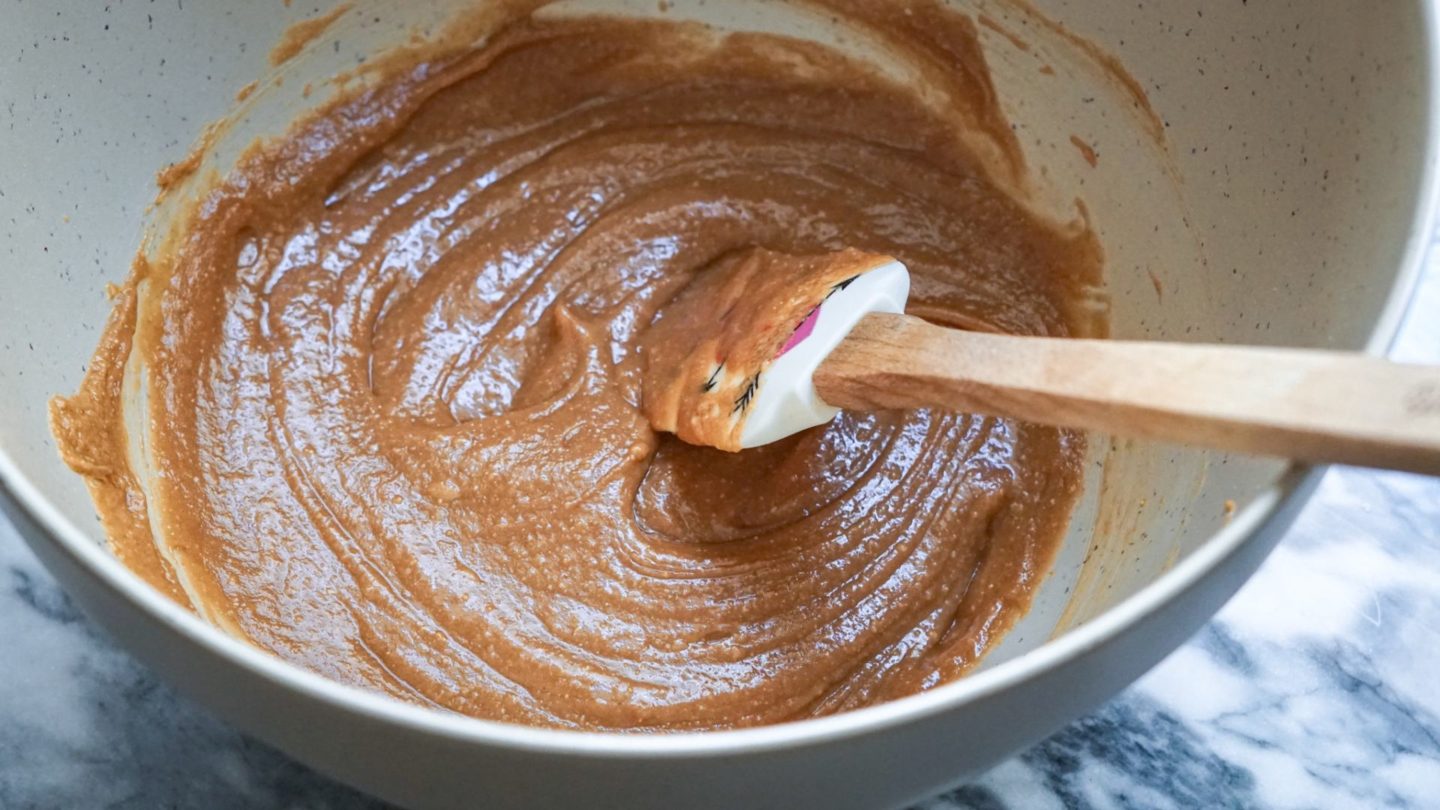
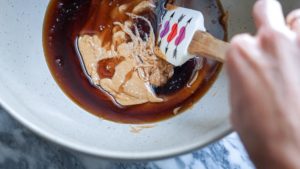
Start by adding the maple syrup and room temperature peanut butter to a large mixing bowl.

Then add lemon juice, kosher salt and vanilla and mix well.
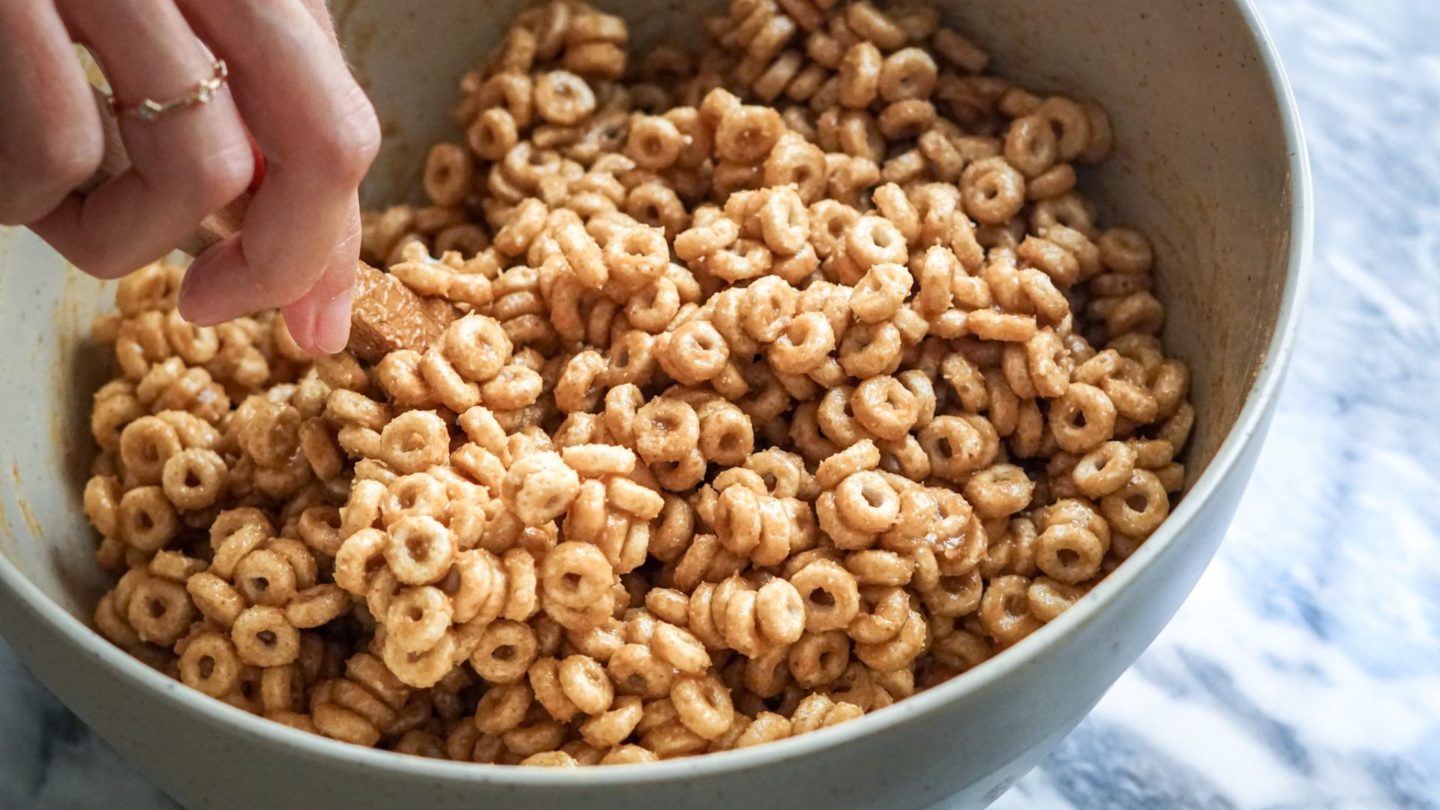
Next, add half of the cereal and gently fold to coat. Then mix in the remaining cereal. Mix one more time until thoroughly coated.
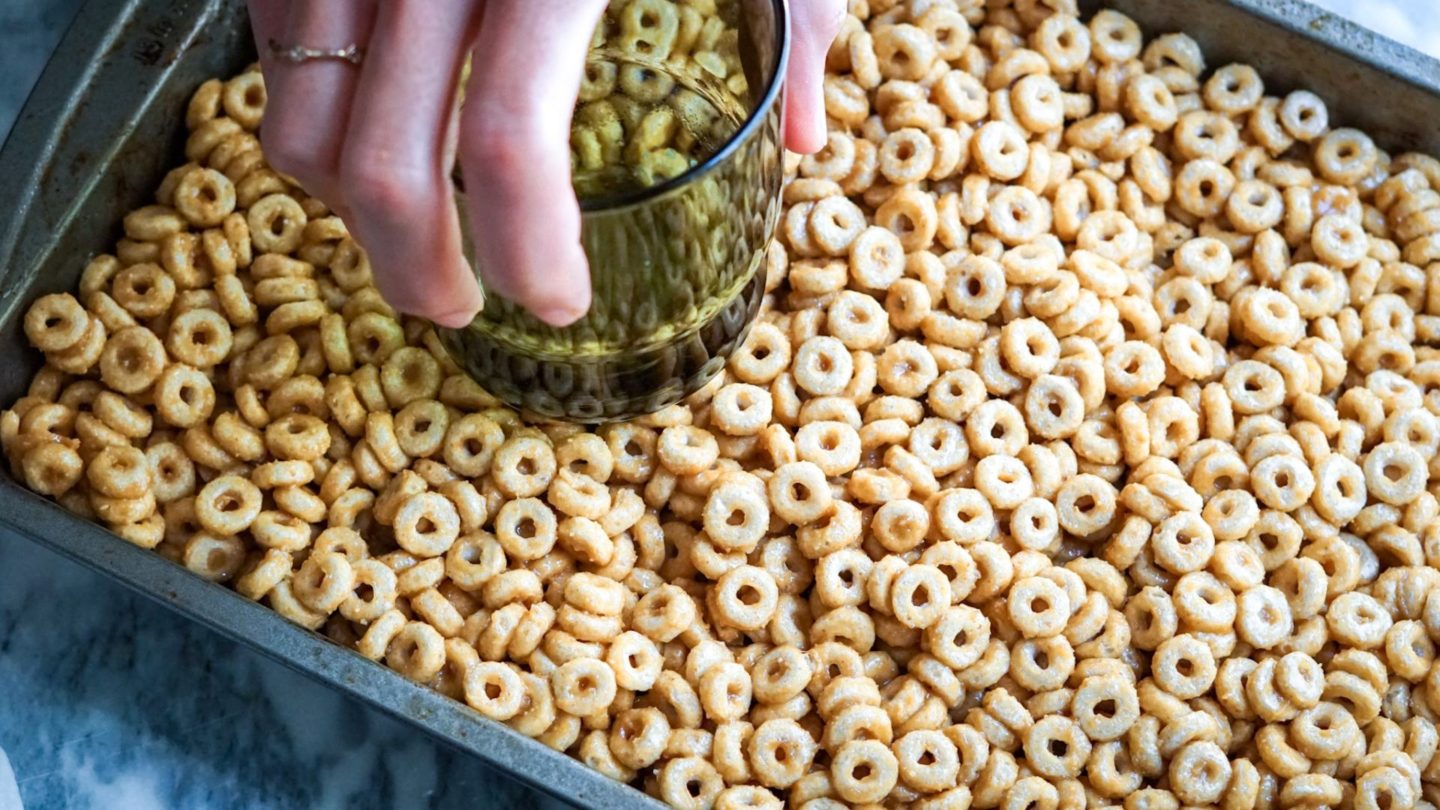
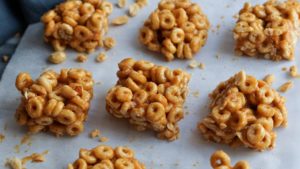
Then transfer the mixture to a lined 9×9 baking dish and press down firmly to create a compact, even layer.
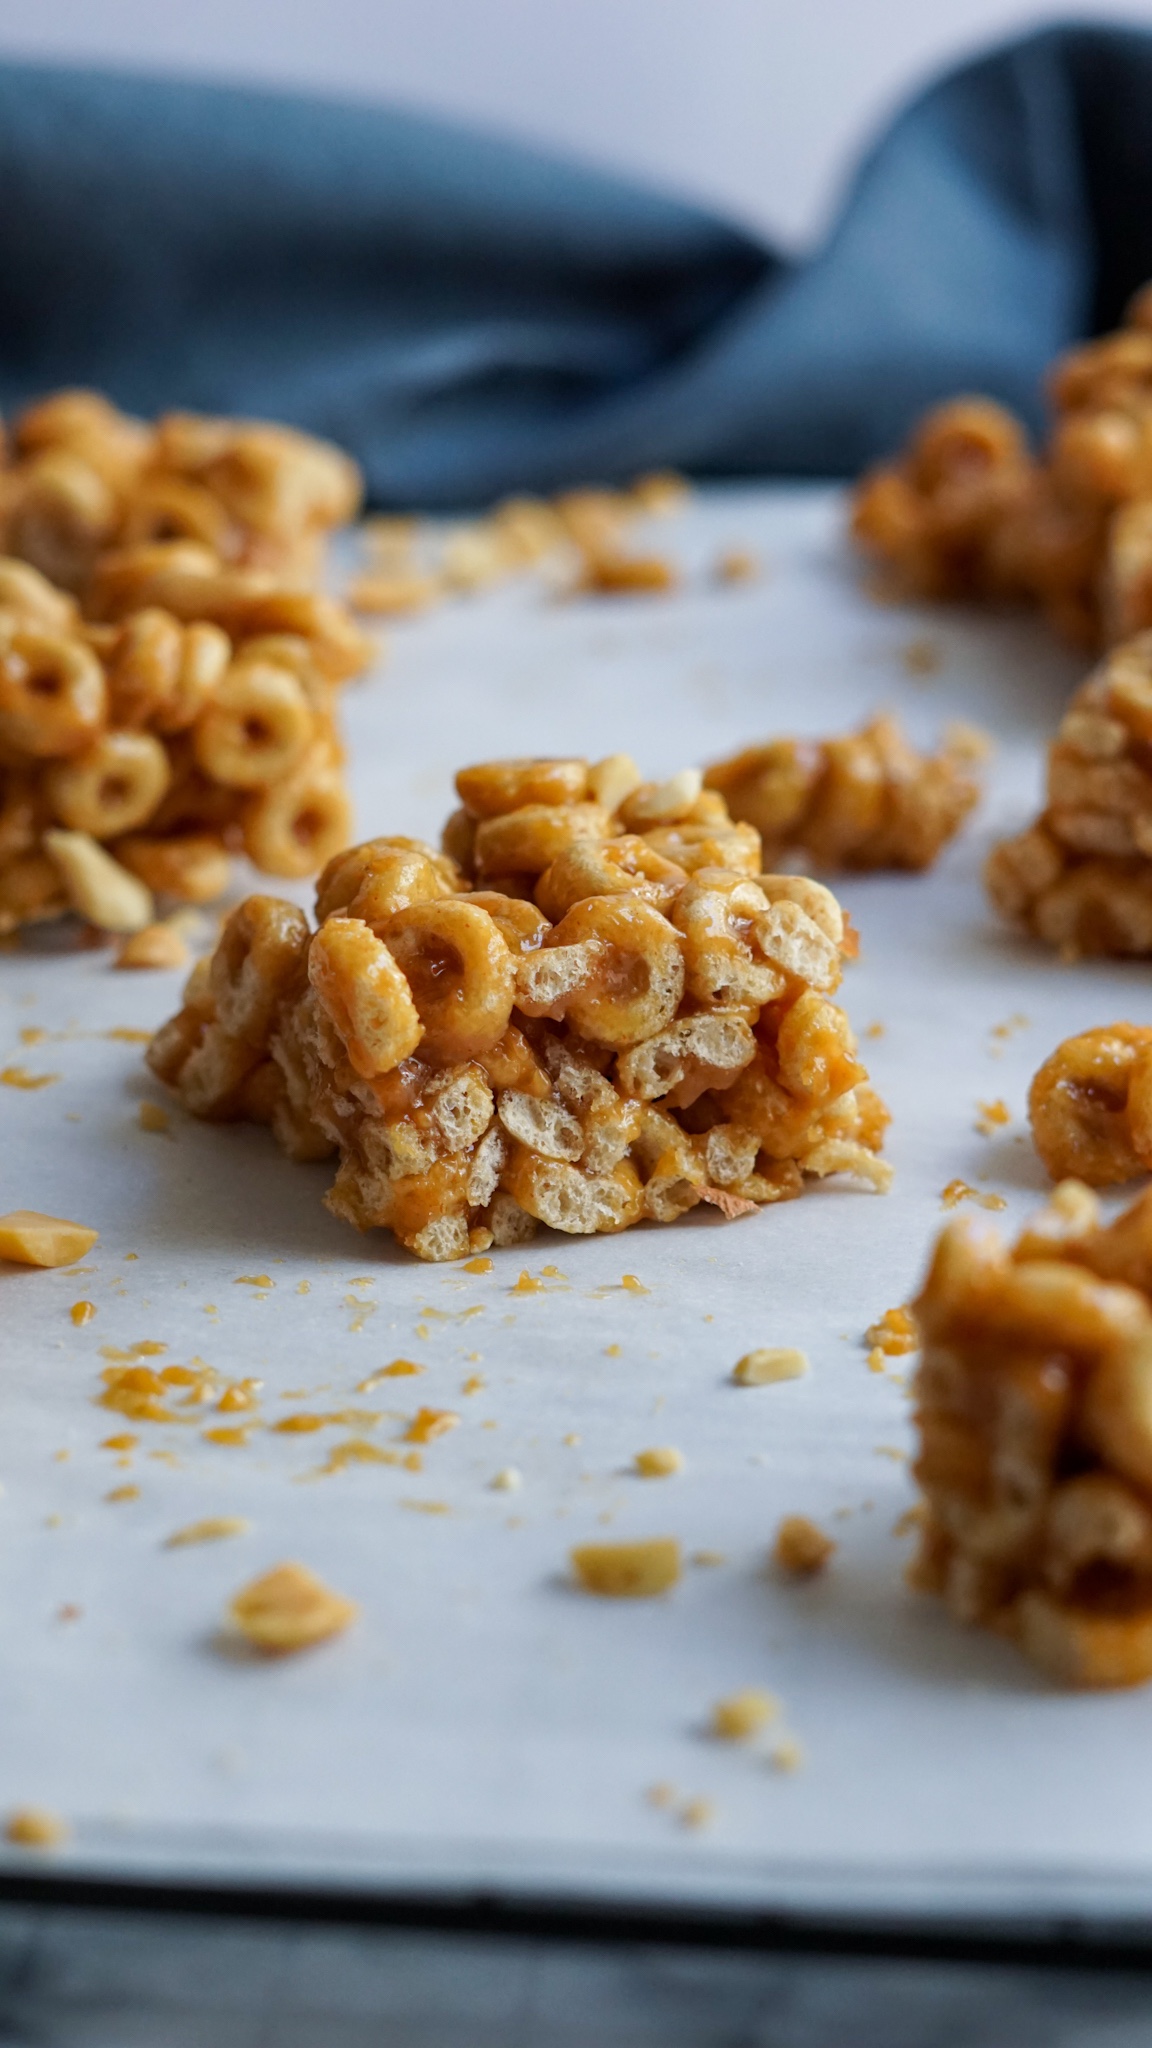
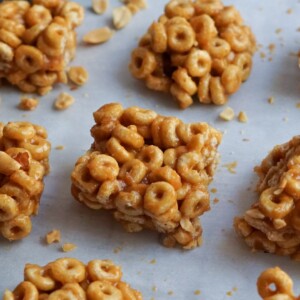
Freeze for 3 hours then slice into bars and enjoy!
Note: these cereal bars are best served straight out of the freezer so they’re nice and crunchy. They will get soggy at room temperature.

How to Store Cereal Bars
Store any leftovers in an airtight container in the freezer for up to 3 days.
Tips for Making Perfect Cereal Bars
- Avoid cutting these bars too soon! It’s sooo tempting to cut and serve these bars right away but they really need some chill time in the freezer to firm up and get crunchy! They need a good 3 hours to fully firm up and set. I often make these in the morning to enjoy in the afternoon or I’ll whip up batch before bed for the next day. Letting them chill makes it easier to cut into bars, it prevents them from falling apart and it majorly improves the texture making it crispy and crunchy!
- They should be served cold! This keeps them crispy and crunchy. While other bars like rice crispier treats can be served at room temp, these will get soggy if they’re not kept in the freezer.
- Line the baking dish with parchment paper so you can easily lift the bars out of the dish to slice them. This prevents sticking and it’s so much easier than trying to scoop them out one by one!
More Recipes You Might Enjoy!
- Healthy Blueberry Breakfast Crumble
- Chili Lime Cashews
- Nice Cream Pretzel Sandwiches
- Peanut Butter and Jelly Cups
Vegan Honey Nut Cereal Bars
Equipment
- 1 Large Mixing Bowl
- 1 Spatula
- 1 9×9 Baking Dish
Ingredients
- ¾ cup unsalted peanut butter, room temperature
- ¾ cup maple syrup
- 1½ tsp fresh lemon juice
- 1½ tsp vanilla extract
- ½ tsp kosher salt, I use Morton's
- 3½ cups O Shaped Cereal
Instructions
- Line a 9x9in baking dish with parchment paper and set aside.
- Combine peanut butter, maple syrup, lemon juice, vanilla extract and kosher salt in a large mixing bowl and mix well.¾ cup unsalted peanut butter, ¾ cup maple syrup, 1½ tsp fresh lemon juice, 1½ tsp vanilla extract, ½ tsp kosher salt
- Add half of the cereal and toss to coat. Then add the remaining cereal and mix until every piece is nicely coated with the peanut butter mixture.3½ cups O Shaped Cereal

- Transfer the cereal mixture to the baking pan and press down firmly to create a compact, even even layer.

- Freeze for a minimum of three hours and then slice and serve 😊Tip: They're best served cold – straight out of the freezer – so they're nice and crunchy. They get soggy at room temp!
Notes
- Avoid cutting these bars too soon! It’s sooo tempting to cut and serve these bars right away but they really need some chill time in the freezer to firm up and get crunchy! They need a good 3 hours to fully firm up and set. I often make these in the morning to enjoy in the afternoon or I’ll whip up batch before bed for the next day. Letting them chill makes it easier to cut into bars, it prevents them from falling apart and it majorly improves the texture making it crispy and crunchy!
- Line the baking dish with parchment paper so you can easily lift the bars out of the dish to slice them. This prevents sticking and it’s so much easier than trying to scoop them out one by one.
- They should be served cold! This keeps them crispy and crunchy. While other bars like rice crispier treats can be served at room temp, these will get soggy if they’re not kept in the freezer.
Want more recipes and meal ideas sent to your inbox every Monday morning? SIGN UP FOR MY FREE NEWSLETTER HERE!